As anyone in East Texas can tell you, having your air conditioning go out—at any time of year, especially summer—can be anything from uncomfortable to downright dangerous.
The same can be said of your furnace or heating system.
ETR, a trusted local HVAC maintenance company in Tyler, Texas, knows that when your HVAC system fails, it can be hard to know whether you should try to fix it yourself or immediately call in a professional air conditioner repair service with state of the art products and diagnostic equipment to figure out and fix the problem.
While we’re in the business of HVAC, we also believe in saving our customers money. If you need us, we’re here for you, but sometimes it’s a simple fix you can do yourself.
Here are a few troubleshooting tips for things to check on your HVAC system before you call in the professionals:
1. Double-Check Your Air Filters
Make sure to check your filters. Dirty filters are one of the number one reasons things go wrong in your air conditioner, and they’re a very simple fix. However, if you don’t change or clean them regularly, it can lead to bigger problems down the line.
This is especially true if you have pets, carpeting, or live in an area with a lot of dust or pollen. Dirty filters can obstruct the airflow, making the HVAC system work harder which is expensive and causes wear and tear. Additionally, if you live in an area like East Texas with high humidity, dirty filters can cause moisture to build up, causing mold and mildew damage to the home.
It’s a good idea to have extra filters on hand. Depending on what type of filter you have, it should be changed regularly. For example, 1-2 inch filters need changing every one or two months. Larger 4-5 inch filters need changing every six to twelve months. Again, that’s the average standard, but if you are having issues with your HVAC system, checking your filter and changing it if necessary is a good place to start.
An extra tip: If you’re doing maintenance on your house, or someone near you is doing maintenance, you might need to change your filters more often, as they’ll get dirtier faster from the debris.

2. Check Your Air Vents
Do your AC vents have enough “breathing room?” Air conditioner vents are sensitive, and if the vents are blocked, it might cause them not to work properly. Keep toys, furniture, plants, pet hair, dust, etc., away from vents to make sure the airflow isn’t obstructed and continues working correctly.
Especially be sure to check your return vents. These vents are typically larger and are low in the wall or in an inconspicuous location in the ceiling. Make sure they are not obstructed by furniture or other household items and that they stay clean.
3. Check Your Electricity
If your AC suddenly stops working… have you checked your breaker and power switches? Sometimes your appliances stop working because a circuit blew, and it’s as simple as flipping the breaker switch to turn it back on.
Do you know where your circuit breaker or fuse box is located? It’s a good idea to know, just in case. It’s also important to make sure it’s properly labeled!
4. Check the Outside Unit Area
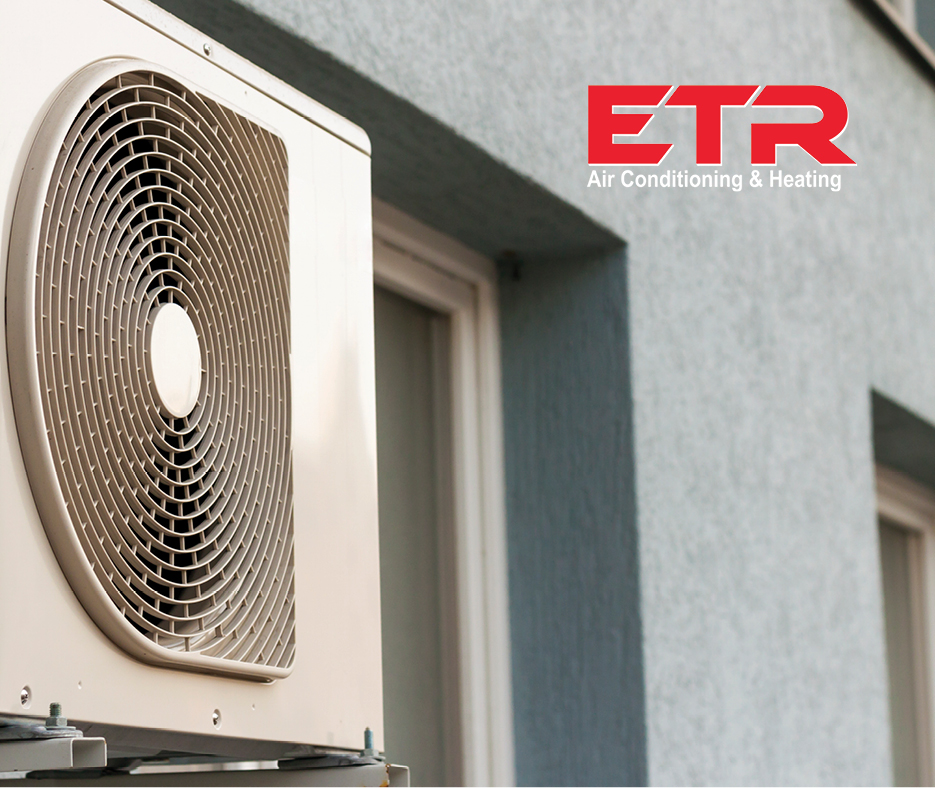
If your HVAC system isn’t functioning the way it should, have you checked the outside unit? The outside unit is a good place to check and troubleshoot. Similar to your vents, the outside unit can get clogged. Check to make sure leaves and other debris haven’t caused the unit to stop working. It’s also good to do regular seasonal HVAC maintenance to ensure plants, etc., don’t grow around the unit and cause it to stop working.
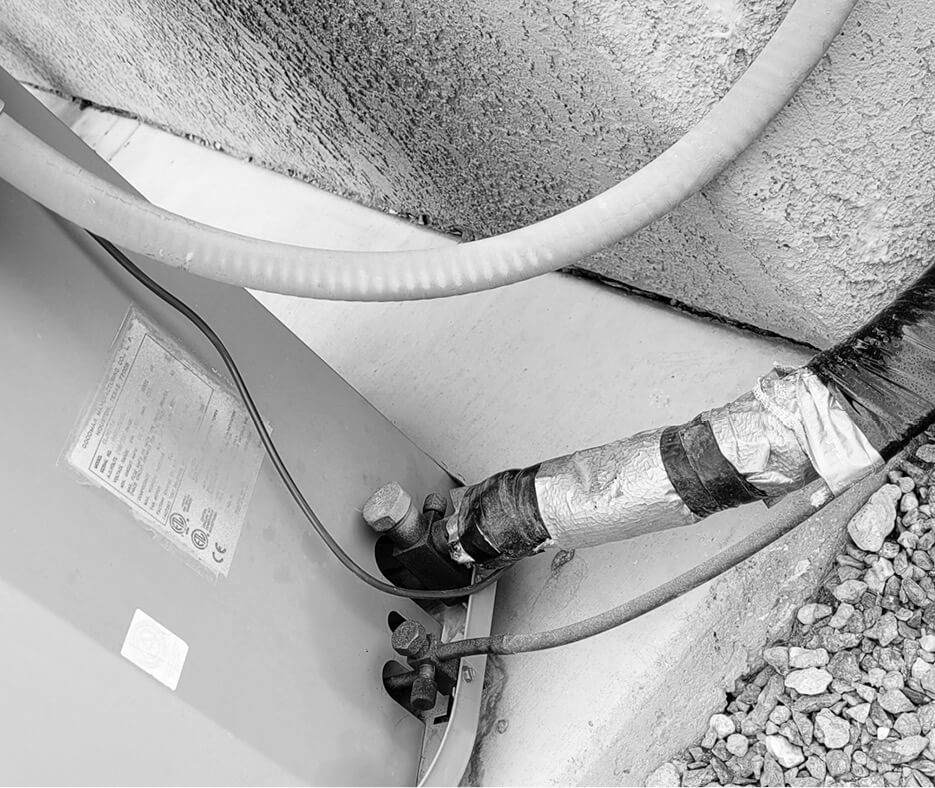
Previous DIY repairs with duct tape or other adhesives my obstruct the view of larger damage to the system. Remember, small repairs are much easier and cost much less than replacing entire machine parts.
5. Reset the HVAC
There’s always the stand-by favorite: the old “turn it off and back on again” trick. It might be simple, but this can often be a solution. Sometimes you can get things to work again by resetting your system and turning it off and then back on after a recommended amount of time. Check the manual for how to reset your unit correctly.
6. Check the Thermostat
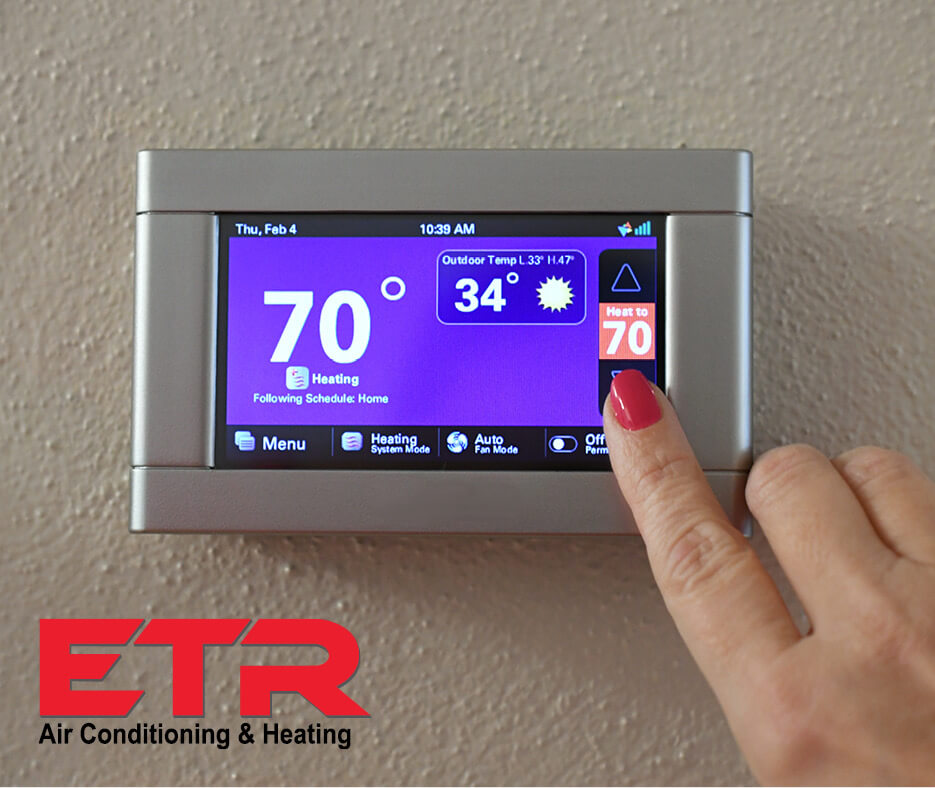
Have you checked your thermostat? Have you checked your thermostat batteries? Sometimes the fix is as simple as changing the batteries in your thermostat to get your AC working again. Once you’ve made sure the batteries are working, check the temperature settings to confirm they’re where you left them and didn’t get accidentally changed. Even today’s smart programmable thermostats can have problems sometimes, and it’s good to make sure that’s not the culprit of your air conditioning issues.
An Extra Tip: Be sure not to leave your “fan” switch on your thermostat indefinitely set to the ON position/setting. While it might seem like leaving the fan setting on will keep everything cool and dry, leaving it on this setting can actually cause humidity levels to increase. Always keep the fan setting set to auto!
Once you’ve checked the whole unit over – checked batteries and power sources, changed the filters, cleaned away any debris – and if your unit still isn’t working, it’s time to call in your trusted local HVAC technicians to see where the problem is.
If you have an older unit, you may be in need of a new HVAC system. Experienced HVAC technicians can look at your home and help you determine the best new air conditioner for you.
To help avoid problems with your HVAC system, it’s a good idea to schedule routine seasonal maintenance. That way, you just need to put it on your calendar and trust that the professionals will take care of your HVAC needs.
